Way back in 2007, we built and raced a car by the name of "Plume Projectile"
 |
| Projectile racing in 2008 |
Since then, the development of Darkside of the Plume has taken precedence and only recently has the decision been taken to re-launch Projectile with a new chassis. The plan was to have the car ready for the beginning of the 2013 season, but things never progress as fast as I'd like and we have made the decision to take our time and not rush the build at the cost of quality.
So here is the progress so far:
First, the back end of another roof box was cut off and a more aerodynamic "tail" was moulded from slices of MDF and Cellotex roofing insulation left behind by the builders....


After a bit of smoothing (not much!) we started to stretch 10mm thick strips of pink insulation foam over the mould, glue-gunning them along the bottom edge....

Once the mould was completely covered, the bottom edge was trimmed flush and a couple of layers of thin fibreglass cloth were draped over and wetted out with resin....
Trimmed and fibreglass cloth and resin on the inside to add strength and durability and hey presto! the beginnings of a really lightweight yet strong, foam-core composite, pretty nifty body shell!!!

An so on to the chassis. We decided to push the boat out and fork out for a VERY EXPENSIVE 8'x4' sheet of aluminium honeycomb composite. It's very, very light but stronger than plywood of the same thickness! The body shell was placed on the sheet and drawn around and the honeycomb was cut out with a jigsaw. Here you can see the freshly fabricated front axle (pre paint) and the batteries in their rough locations...

The stiffening chassis sides were glue gunned into place (to be fibre glassed later) and a temporary back rest added....

Can't resist testing it for space! If a tubby chap like me can fit in, the students should have NO problems!!!

The side walls had to be cut down somewhat to fit inside the curved body shell, but still plenty strong enough I think! The brown goo holding it all together is epoxy mixed with micro resin balloons!! The back axle is in-situ and the whole thing is starting to look more like a car!!

Close up detail of the proposed drivetrain. The bearings are SKF ultra low friction (supposedly 33% less than a standard bearing) they were pretty expensive and are running in housings modified by me to take them.
The cassette is custom build by me, I hacked 2 Shimano 10 speed cassettes and combined sprockets from each to create a cassette with only one or two tooth steps between each gear. The thinking is that we should be able to use it to keep the current more constant by compensating for upwind/downwind and uphill/downhill sections within every lap!!! We'll see...

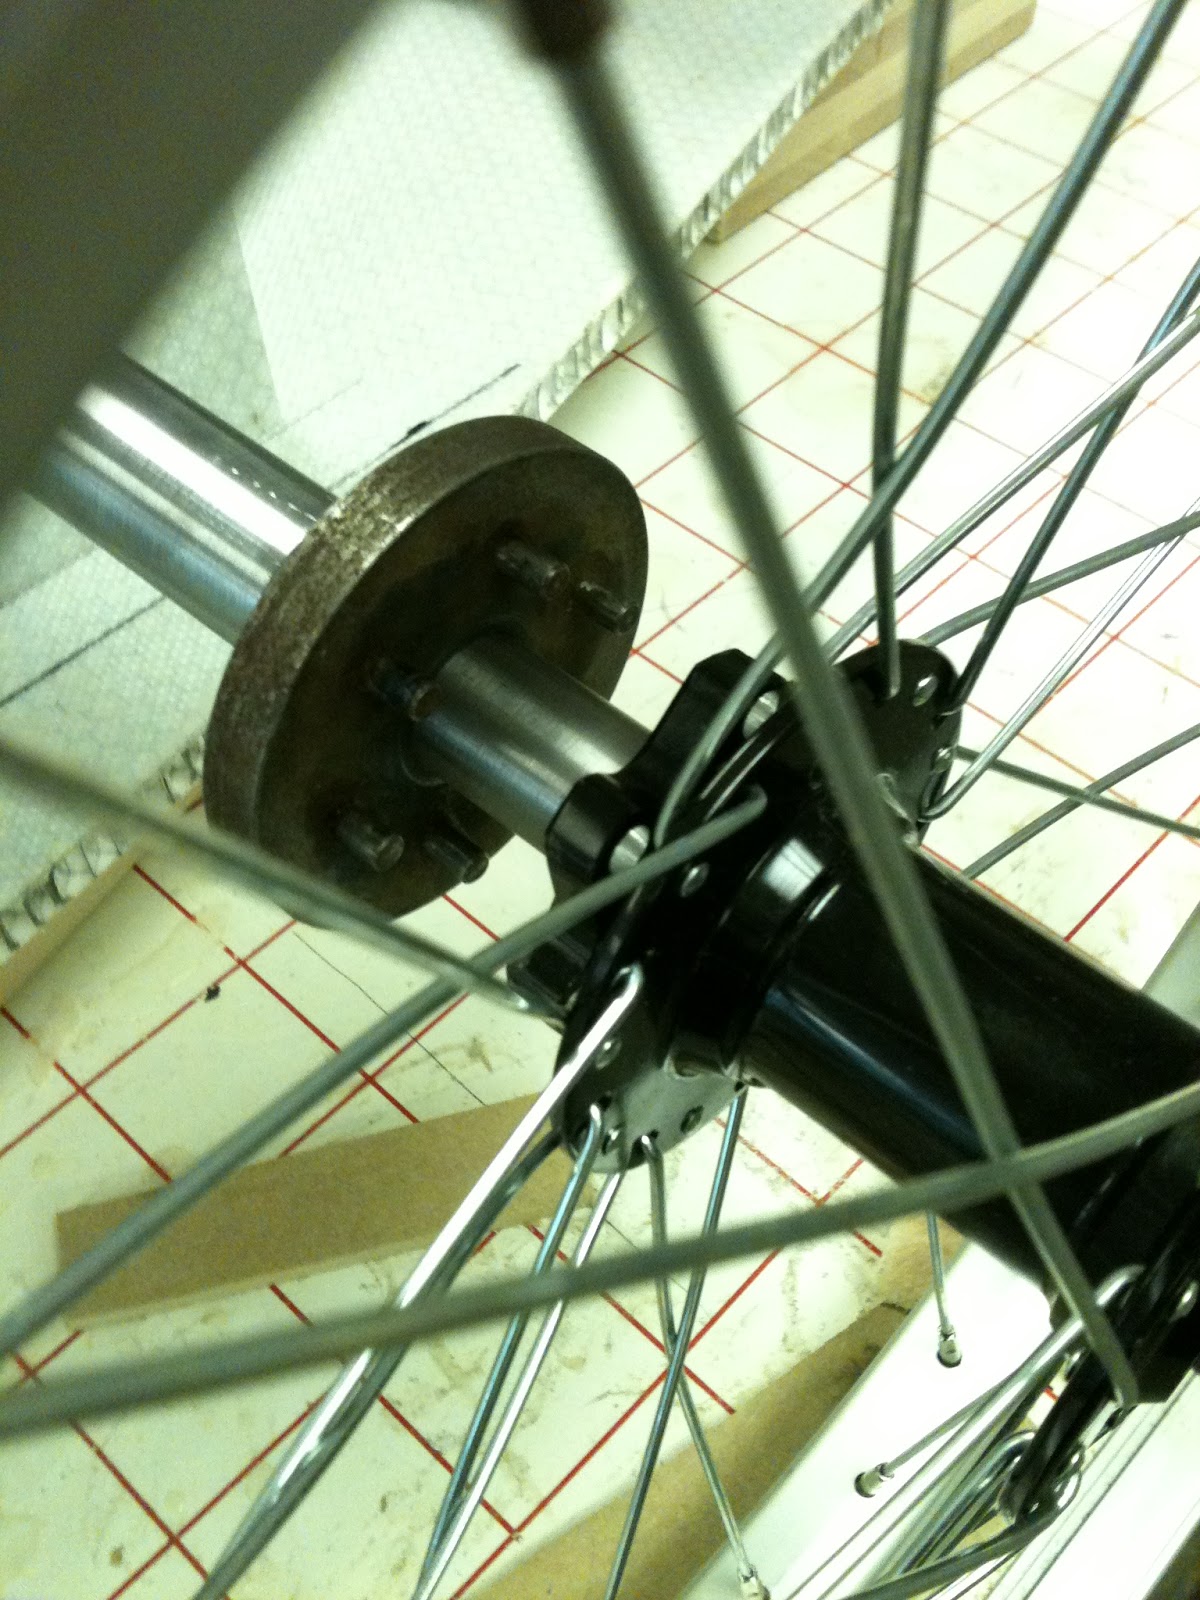
Close up detail of the drive transmission system. The little silver steel pins locate into the disc mount holes on the driven wheel. This way we should be able to remove a wheel quickly if needs be, by just undoing one central wheel bolt....
So this is how far we have got as of Friday 21st June.....Next step is to cut the nose off to provide a flip front battery compartment and front axle access. Lots of careful measuring and breath holding for that!!!

I might narrow the back and front axle a bit as well, they are REALLY wide!!!

No comments:
Post a Comment
Note: only a member of this blog may post a comment.